
A Simple DIY Disc Brake Service Procedure
Is your disc brake making squeaks, squeals or some scratchy sound? It could benefit from this simple tune up. Disc brakes are typically fitted to front wheels and consist of a rotor (most mechanics in Nigeria call this brake disc i.e. the shiny metal disc you would see behind the alloy or metal rim of front wheels), brake pads and a caliper. Some vehicles also have disc brakes at the rears while some feature drum brakes. Although this is done on the front brakes of the 2003-2007 Honda Accord LX, the principles are the same for other car makes with disc brakes. Enough of this intro, time to get dirty!
Materials: 12mm wrench, wire brush, sand paper (if you don’t have this, no problem), Caliper grease, anti-squeal paste. If you do not have the caliper grease or anti-squeal paste, any high temperature grease that is not copper based and does not degrade rubber will serve. The only down side is that ordinary high temperature grease would not last as long as caliper/anti-squeal paste. But its still better than doing nothing.
Steps:
1. With the hand brake engaged, secure the rear wheel with chocks. Slacken the lug nuts and raise the vehicle on support stands. Remove the front wheel in question and set aside.

Wheel on support stand

Wheel off showing disc brake assembly
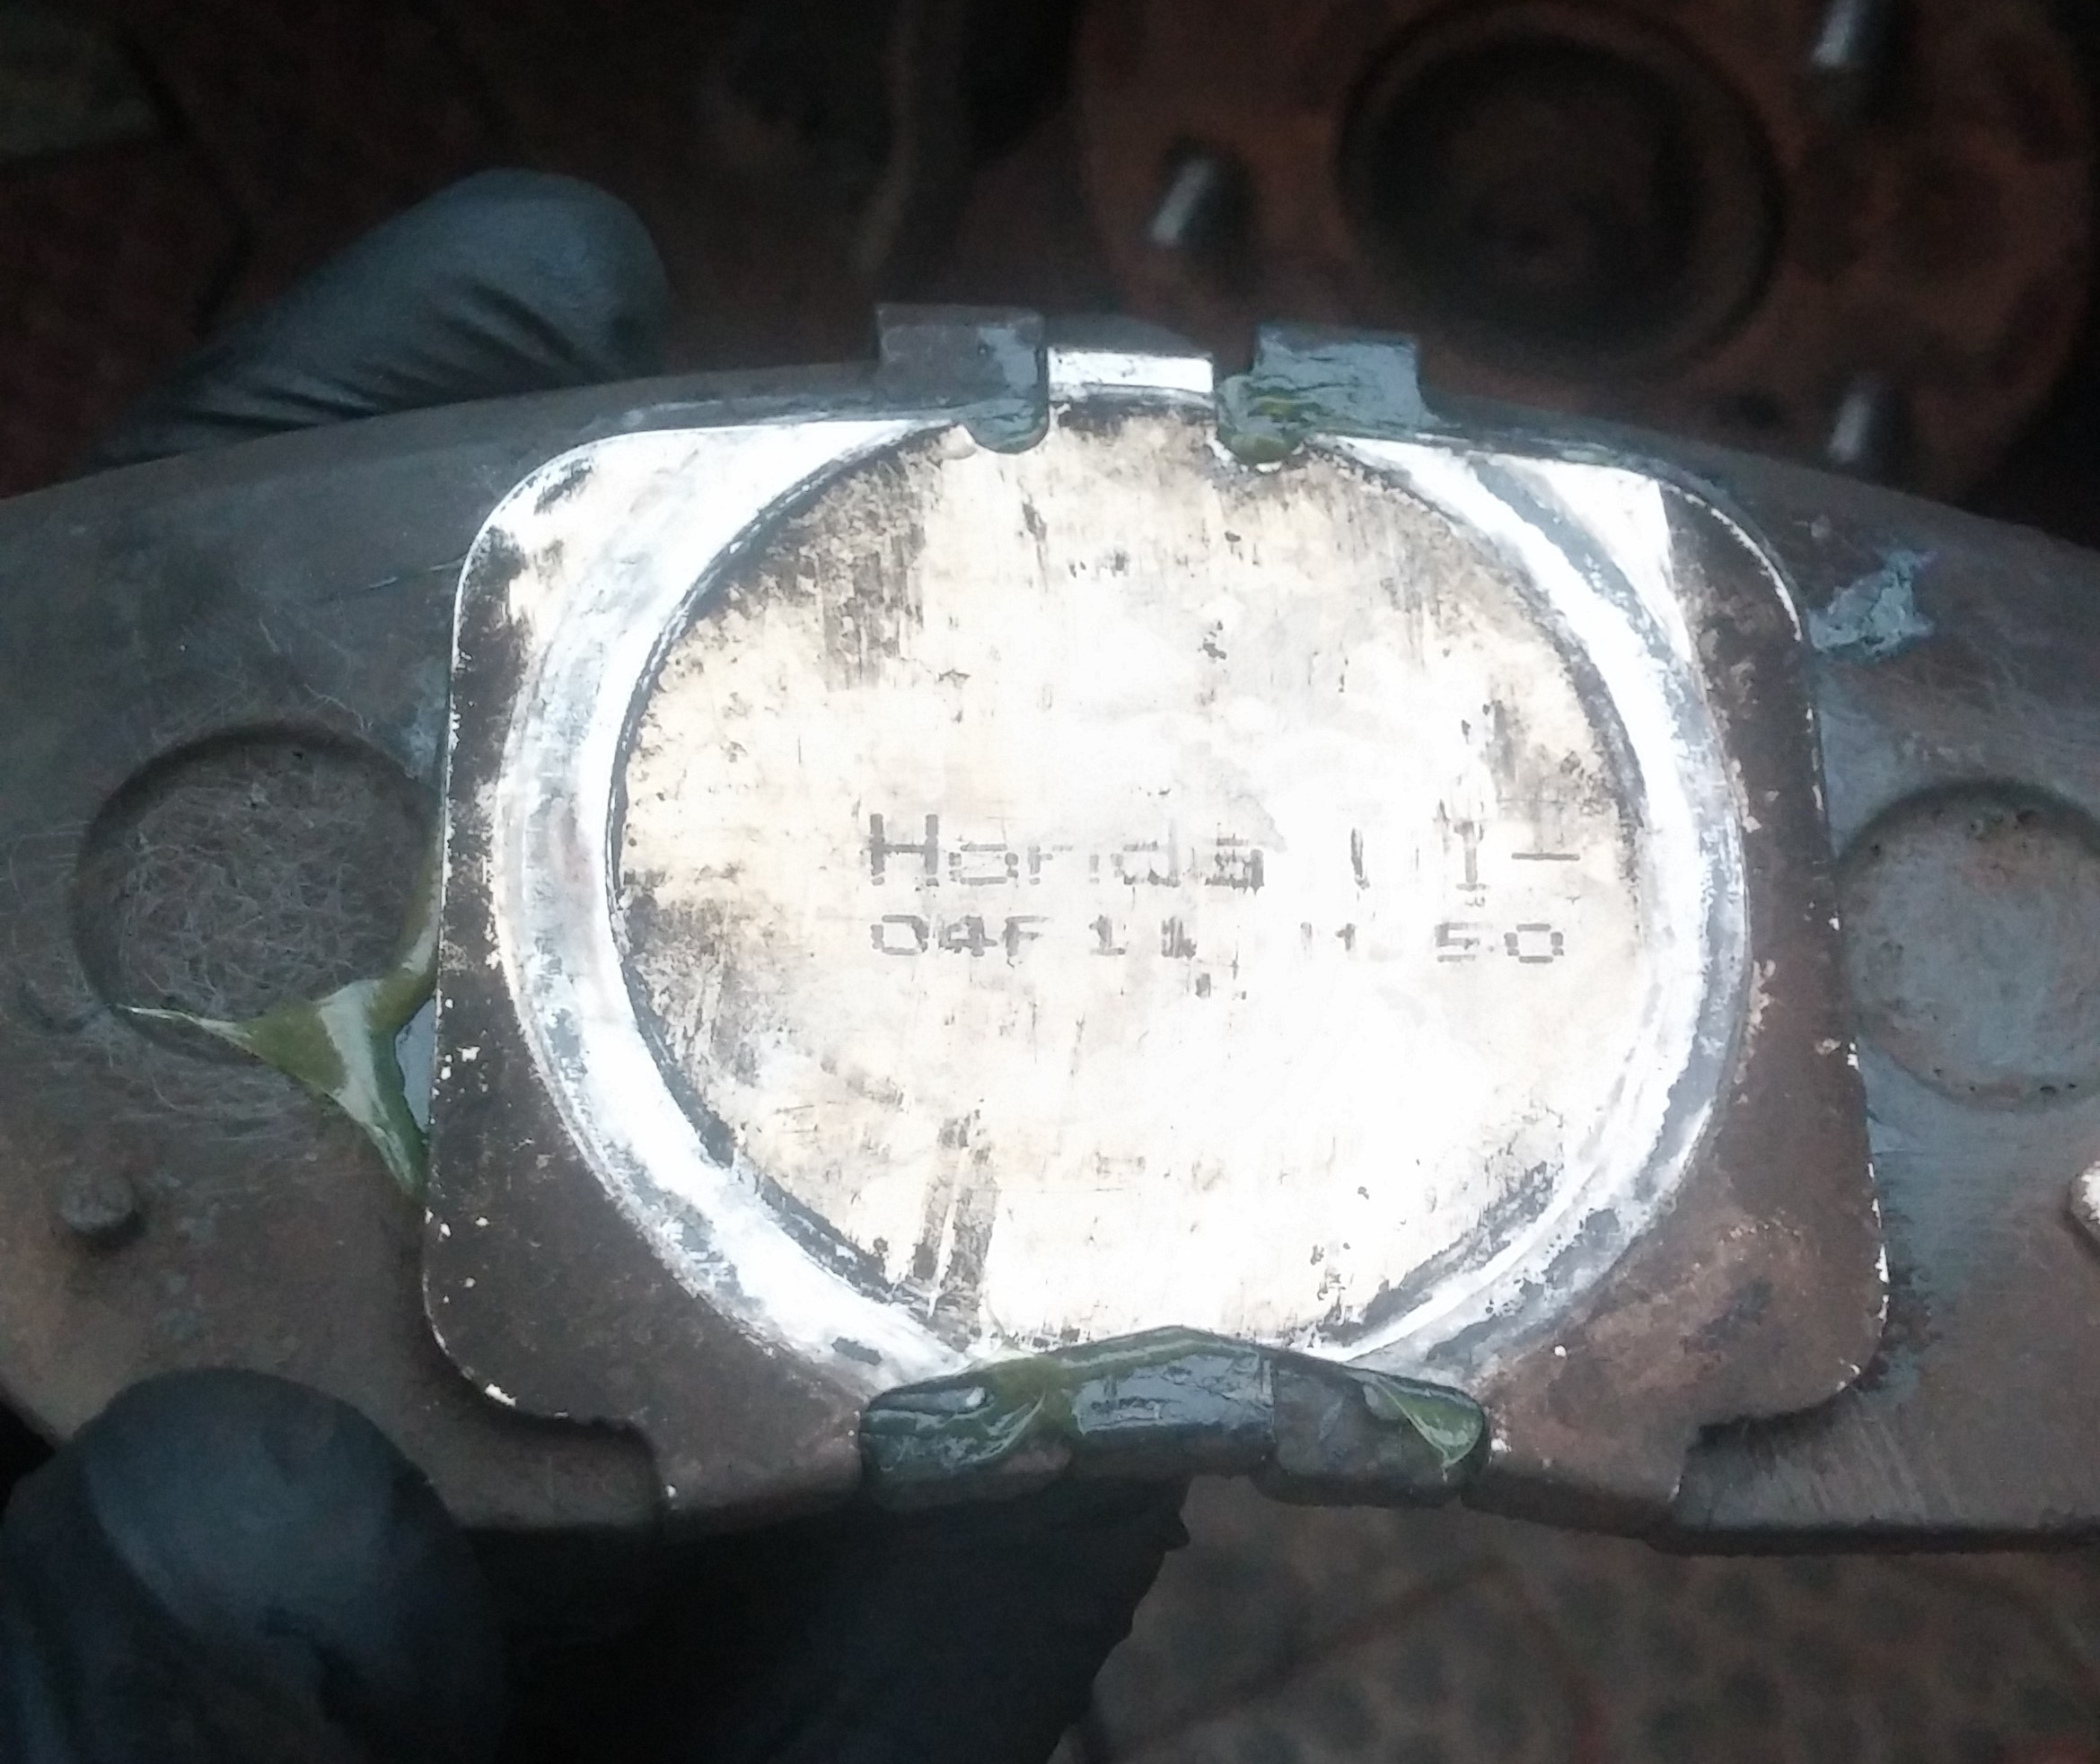
2. Remove the two 12mm bolts holding the caliper in place. To prevent damage to brake lines, also remove the 12mm bolt securing the brake line to the knuckle. Set the caliper on the lower control arm.

Removal of upper caliper bolt

Caliper bolts & caliper off
3. Remove both brake pads and inspect their surfaces for glazing, grooving, erosion etc. Also take this time to inspect the brake wear indicator. If the indicator is approaching the brake pad surface, consider replacing.

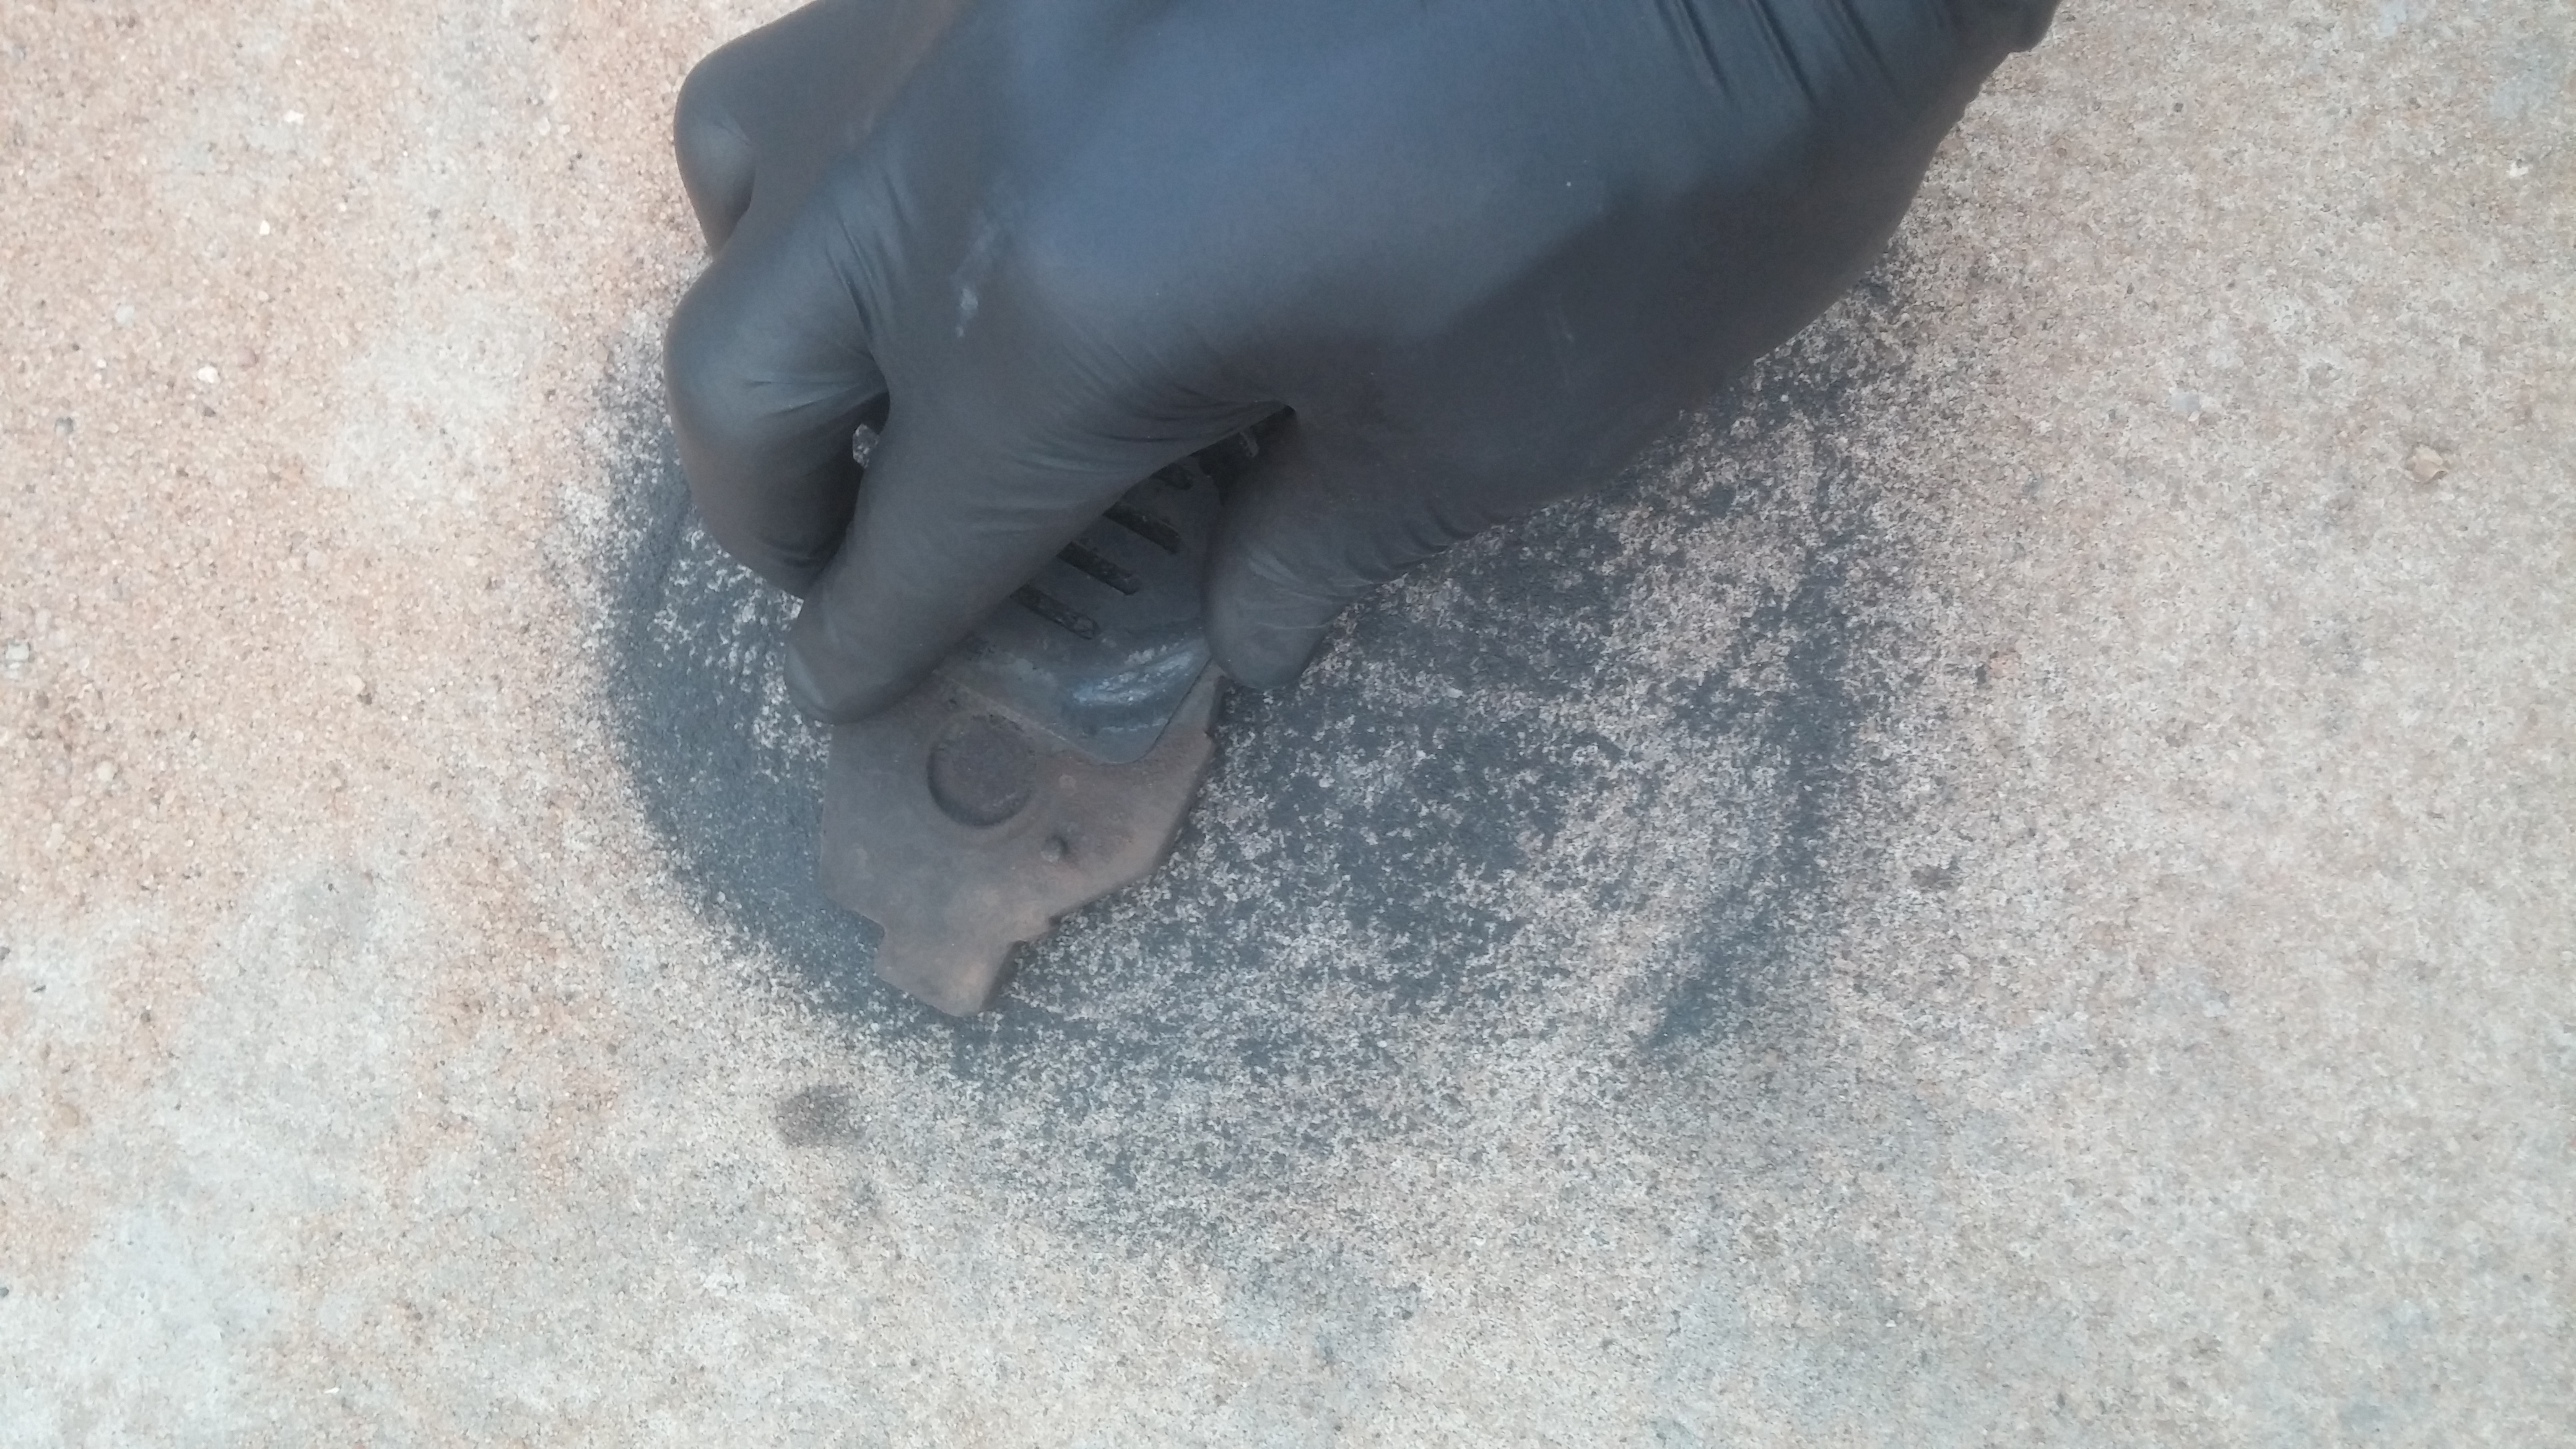
My brake pad had glazing and grooves…
4. Sand the brake pad surfaces to remove any imperfections. If you do not have sanding paper of appropriate grit, using swirling motions on German floor you can achieve the same. Use a floor with roughness equivalent to the surface of blocks used for building houses. Remember brake dust is poisonous so ensure you don’t inhale any dust.
Sanding in progress…
Sanding Complete. All imperfections removed!
5. Now turn your attention to the posterior surface of the brake pads. Using a wire brush, remove the debris here and detach the shims (shims are the metal plates attached to the posterior surface of brakes). NB: Some brakes may not come with shims.

posterior surface of inner brake pad. 1st shim is off already.
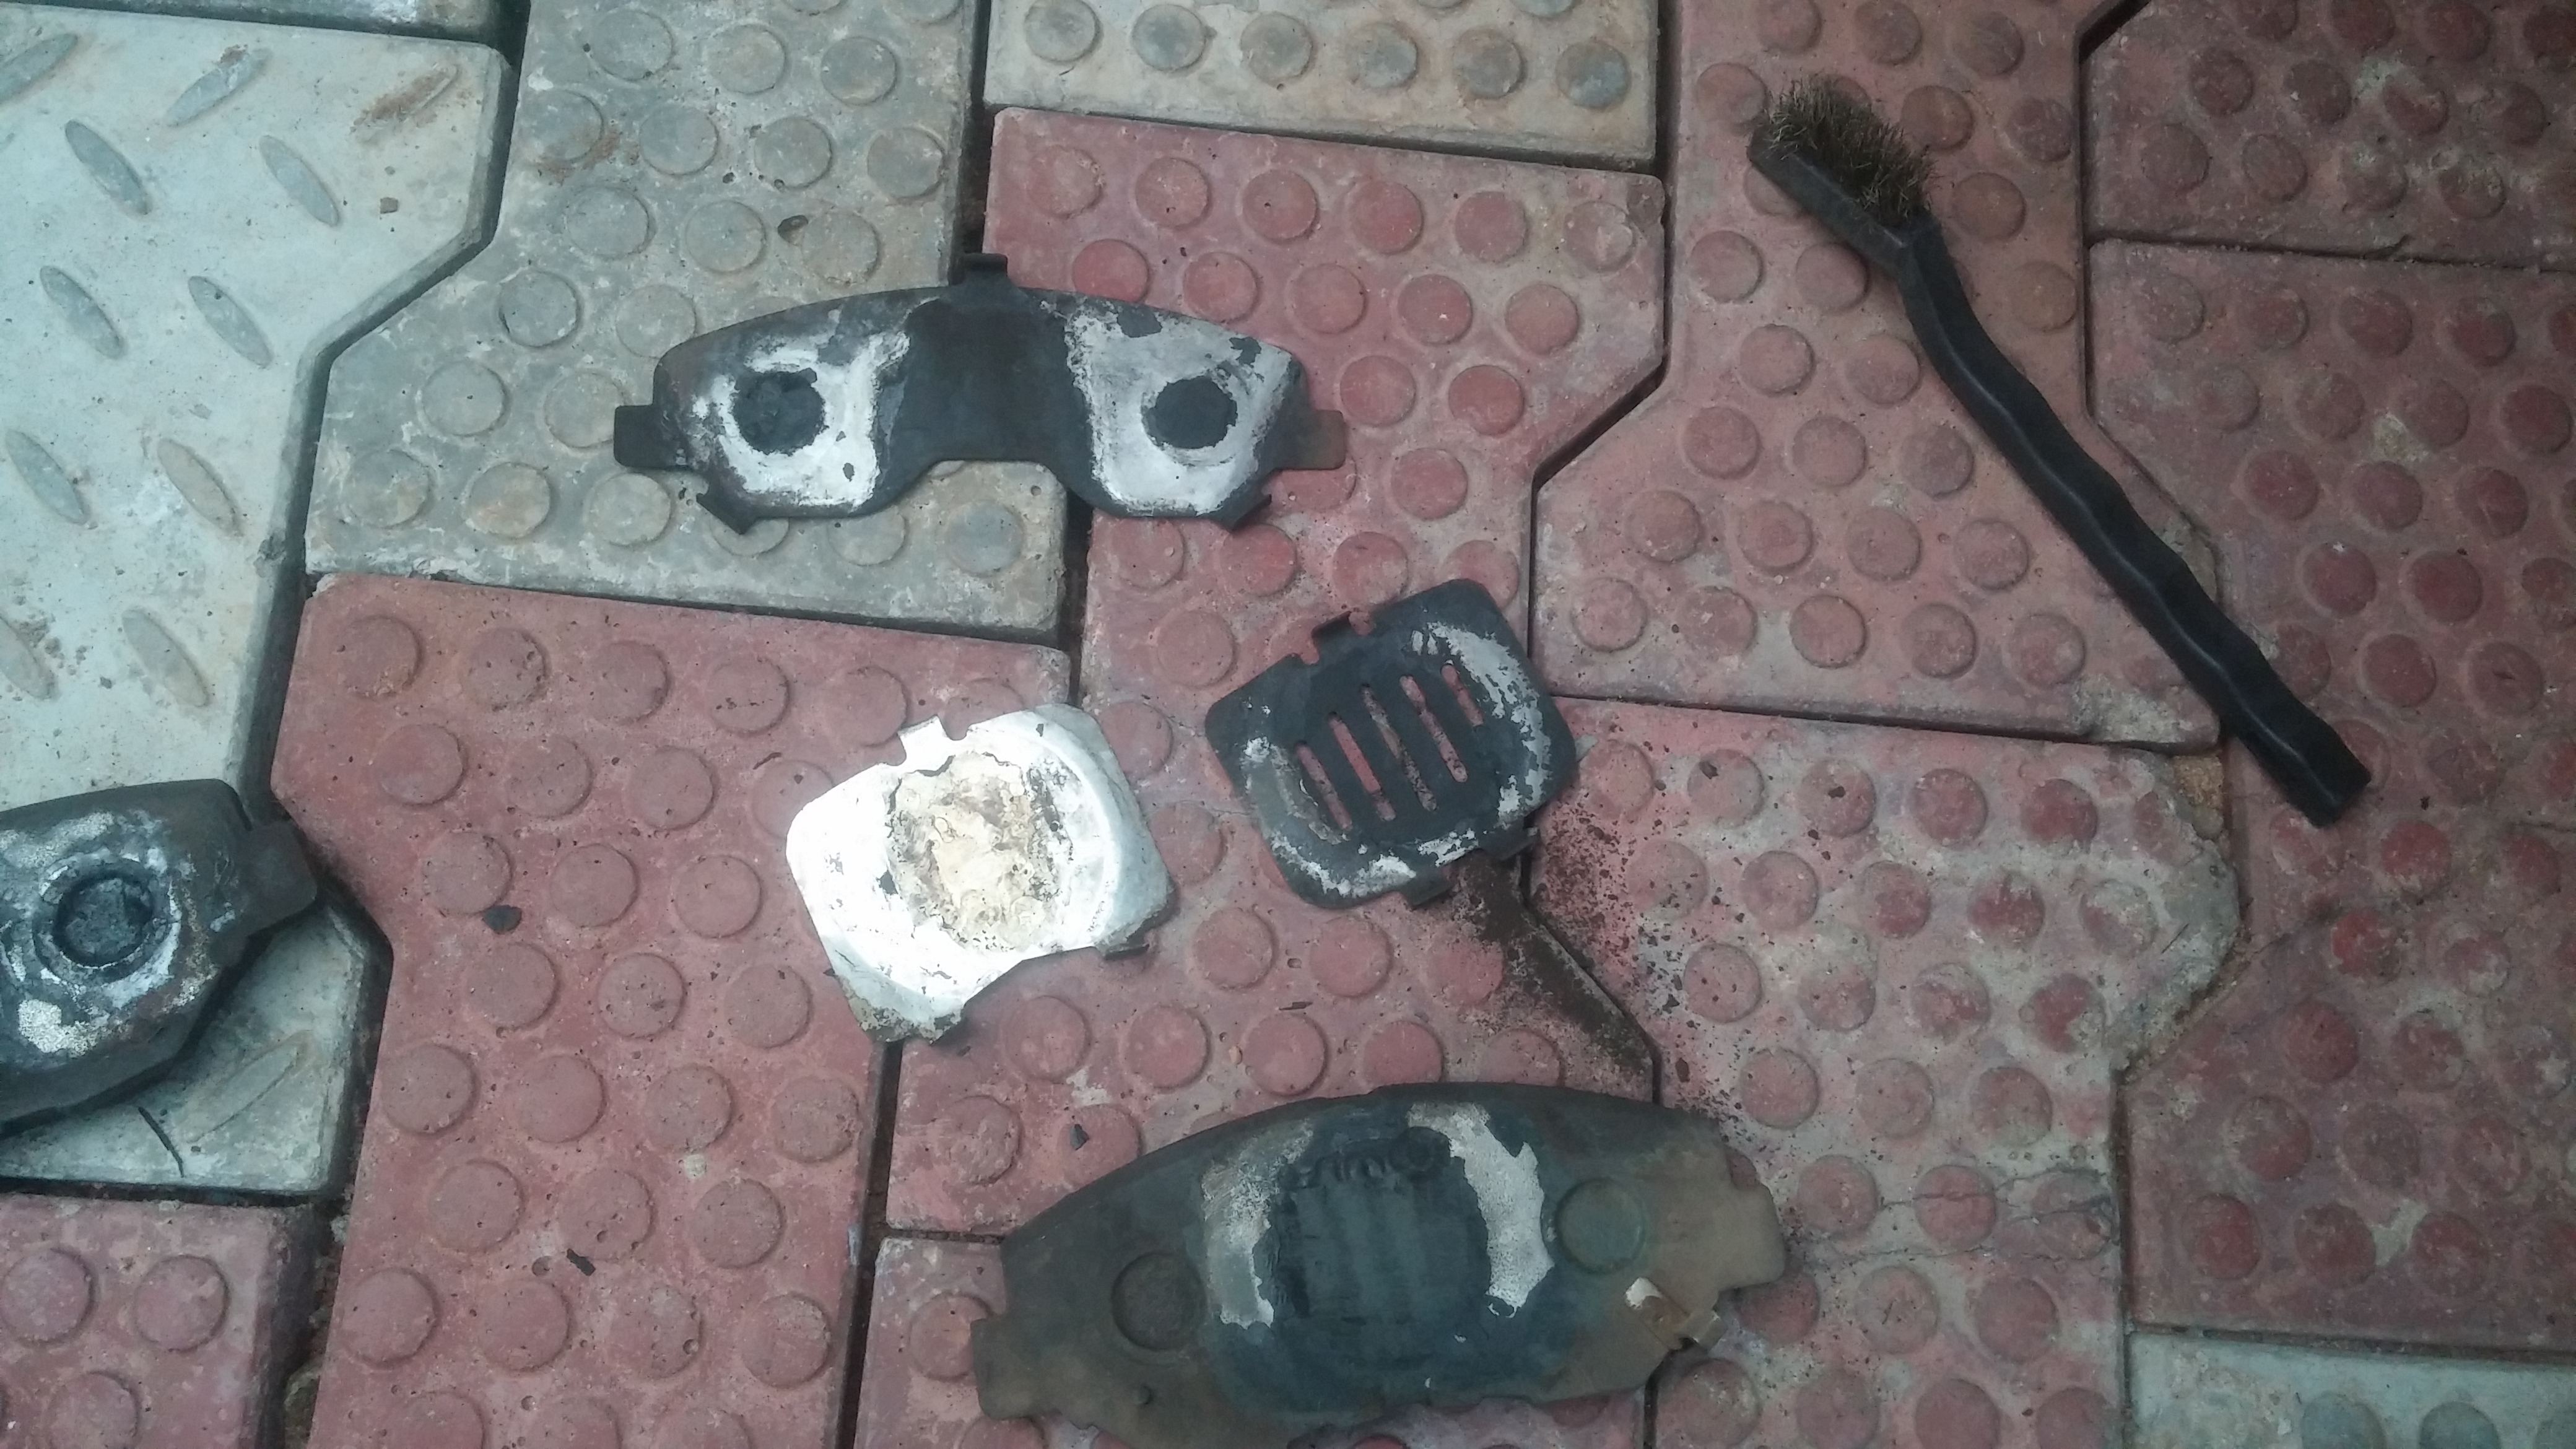
The 3 shims in view
6. Apply the anti-squeal paste or high temperature grease to the posterior surface of the brake pad itself, then put on the shim. For the pad on the inner side of the rotor; it has 2 shims, after applying the grease to the posterior surface of the inner brake pad, put back the first shim, apply grease to the posterior surface of the first shim and then put on the 2nd and final shim. Ensure you leave no grease on the rotor or front surface of the brake pad. This 6th step removes squeal and squeaks, but, is hardly practiced by mechanics.

Grease applied on shim
Grease applied and shims replaced on inner brake pad
7. Pull out both upper and lower caliper pins. (See the location of the lower pin below. The caliper bolts screw into the pins) Take care not to tear the rubber boots. The pin should be greased using caliper grease (or equivalent. I used MRS. Just make sure you do not use copper grease). Replace the pins. The pins should move freely in their boots. My upper left upper pin was dry.

Location of lower caliper pin

A caliper pin removed from its groove and boot
8. Use this opportunity to inspect the brake lines for damage. Examine the rotor for glazing, if present remove buff with smooth sand paper.
9. Replace all components in reverse order and you’re done! Good bye brake noise!
Thats a good one…i never knew we have our own diy site.kudos! Ur materials are very helpful
Thanks Idris!
Where can i purchase the anti squel grease in Nigeria
Thank you for reading this post.
So far, I haven’t been able to find this locally. I get mine from abroad. But on this particular procedure I used MRS crystal grease as I was stocked out. It just means the ordinary grease will dry out quicker than anti-squeal paste. But it will last a while.